
Choose a Reef Heater by Heat Load, Not Gallons
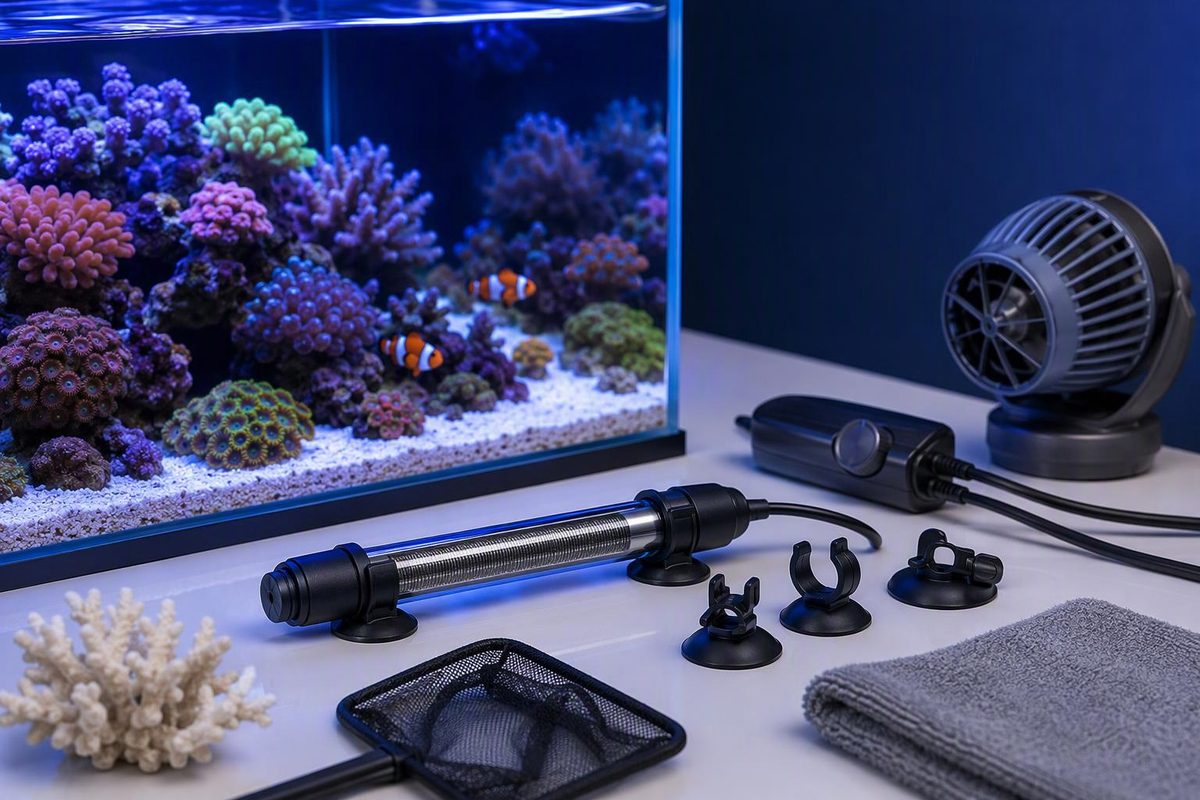
Choose and size a heater for a saltwater aquarium using system volume and winter room temperature, then add controls, placement, and safety checks.
Choose a heater for a saltwater aquarium from the system’s total connected volume, the coldest normal room temperature and the exact heater model’s sizing chart. For most home reefs, the practical minimum is an adjustable, marine-approved heater and an independent thermometer. A separate controller and two correctly sized heaters can add safeguards, but oversized equipment creates more risk if it fails on.
Enter your estimated system volume and temperatures; use the wattage range to shop, then verify the choice against the manufacturer’s chart.
Saltwater Aquarium Heater Check
Estimate the required temperature rise and a rough 3–5 W-per-gallon shopping range.
System Conditions
Rough Shopping Range
At this exact 55-gallon and 10°F benchmark, Aqueon lists 150 W for its cited product line.
Use the rough range to narrow the search, not as a final model recommendation. Check the selected heater’s own chart.
| Volume | Rise | Aqueon Benchmark |
|---|---|---|
| 20 gal | 10°F | 100 W |
| 55 gal | 10°F | 150 W |
| 75 gal | 10°F | 200 W |
Sources: Bulk Reef Supply for the rough 3–5 W/gal range; Aqueon’s product-specific sizing table for the listed benchmarks.
Size the Heater for the Required Temperature Rise
Start with the difference between the target water temperature and the coldest temperature the room normally reaches. A reef kept at 78°F in a room that falls to 68°F needs a 10°F rise. The same tank in a 74°F room needs only 4°F.
Account for the whole connected system, including the display, sump and refugium. Rock, sand and the sump’s operating level mean actual water volume differs from the advertised tank capacities. However, do not aggressively subtract displacement and then select a heater from a chart based on nominal aquarium size. The display and sump still lose heat through their exposed surfaces.
Treat volume as an estimate. Leave a reasonable margin for the system’s layout, open surfaces, drafts, evaporation and winter conditions. An open-top tank with a sump can require more heating than a covered aquarium holding a similar volume of water.
A common shopping rule is 3–5 watts per gallon; Bulk Reef Supply uses that range. It is only a rough range because watts per gallon does not account well for room temperature, aquarium construction or exposed surface area.
Use the heater manufacturer’s table when one is available. Aqueon’s chart recommends 100 W for a 20-gallon aquarium needing a 10°F rise, 150 W for 55 gallons and 200 W for 75 gallons. Some recommendations increase when the required rise reaches 15°F. These figures come from the Aqueon Pro Adjustable Heater instructions and sizing table and apply to that product line, not every aquarium heater.
Use this sequence when selecting a model:
- Estimate the display’s water volume and the sump’s normal operating volume.
- Record the room’s overnight low during winter, not its comfortable daytime temperature.
- Choose a target compatible with every animal in the aquarium.
- Subtract the room low from the water target to find the required temperature rise.
- Select a marine-rated model whose own chart covers the estimated size and rise.
- Confirm after installation that the heater can hold the target during the coldest normal conditions.
Do not buy substantially more wattage merely to warm the aquarium faster. Excess capacity does not improve normal temperature control. It gives a heater that fails on more power to overheat the system.
Match the Heater to the Control Arrangement
An Adjustable Heater Is the Simplest Complete Option
An adjustable heater with an internal thermostat can operate without a separate controller. Glass, polymer-covered and titanium-bodied versions are available, but construction material alone does not establish saltwater compatibility. Confirm that the exact model is approved for marine use.
EHEIM, for example, identifies its thermocontrol line as suitable for marine water, fully submersible and equipped with automatic dry-run shutoff in the thermocontrol specifications. Those specifications should not be attributed automatically to other EHEIM lines or competing heaters.
Do not assume the heater’s dial equals the aquarium temperature. Check it against a separate thermometer. Make small adjustments, then allow the system time to settle before adjusting it again.
A Separate Element Requires a Compatible Controller
Some titanium heating elements contain no thermostat. They must be connected to a compatible temperature controller rather than plugged directly into continuous power.
Check the controller’s voltage, plug type and maximum resistive heating load before connecting an element. This modular arrangement allows the probe, controller and element to be replaced separately, but it does not eliminate single points of failure. One probe or relay can still control the entire heating system.
Two Thermostats Can Provide Separate Cutoffs
A thermostatic heater connected to an external temperature controller can provide two temperature cutoffs. During normal operation, the external controller switches the heater. The heater’s internal thermostat is set slightly higher so it can act as a backup rather than interrupt every routine heating cycle.
D-D’s controller instructions specify placing the probe away from the heater or chiller return. They also call for setting a heater’s internal thermostat above the aquarium target so it does not interfere with normal controller operation.
Follow both manuals when choosing the offset between the two settings. Confirm their readings with an independent thermometer. Where a controller includes a test function, use it instead of intentionally overheating the aquarium to test the backup cutoff.
Split the Heat Load Without Doubling It
For a larger reef, splitting the required capacity across two thermostatic heaters can limit the effect of some failures. If the system needs about 300 W in total, use two roughly 150 W heaters—not two 300 W heaters.
If one heater fails off, the other may slow the aquarium’s cooling, although it may not hold the target by itself. If one internal thermostat sticks on, half the planned capacity will generally warm the system more slowly than one oversized heater.
Two heaters do not protect against every failure. They may still share an external controller, power strip, outlet or electrical circuit. Failure of that shared component can disable both heaters or leave both energized, depending on the arrangement.
Keep their combined wattage appropriate for the actual heat load. A high-temperature alarm independent of the primary heater control adds a different safeguard because it can report a problem instead of relying on another heater thermostat.
Set a Target That Fits Every Animal
A steady 76–78°F is a conventional starting range for a tropical community reef in the Pet Advocacy Network’s marine reef care sheet. It is not a universal range for all marine livestock.
Check the requirements of unusually cool- or warm-water species and choose one target compatible with everything in the aquarium. Once the target is appropriate, watch the temperature trend rather than chasing harmless decimal changes. Confirm an unexpected reading with a second thermometer before changing the setpoint.
The broader saltwater aquarium water-parameter guide covers the other measurements that should be stabilized alongside temperature.
Install the Heater Where It Stays Submerged
Follow the exact model instructions because permitted orientation, minimum water level and acclimation time vary. A mounting method that is acceptable for one heater may damage another.
Place the heater in steady flow so warmed water disperses through the system. If it is installed in a sump, avoid the return chamber or any section that can expose the heater as evaporation lowers the water level. Consider the minimum level reached between top-offs and during maintenance, not only the level immediately after filling.
Put a controller probe in representative flow, away from the heater and any warm return jet. A probe beside the element can read a heated pocket rather than the aquarium’s mixed water. Use the supplied holder or a compatible mount while preserving the clearances and orientation specified by the manufacturer.
Let the heater acclimate underwater before energizing it. Aqueon specifies at least 30 minutes for its model, while Finnex specifies 15 minutes for its HMH series in the Finnex HMH instructions. Follow the time stated for the model actually installed.
Unplug the heater before a water change can expose it. Allow it to cool for the period stated in its manual before removing it from the water. Never operate a submersible heater dry; automatic dry-run protection is a backup rather than an operating mode.
Add Electrical Protection and Verify Operation
Use a GFCI-protected receptacle, make a drip loop below the outlet and keep plugs and controllers dry. Finnex’s heater instructions call for both GFCI protection and a drip loop. The CPSC recommends testing GFCIs monthly according to their instructions because they can fail without an obvious sign in its electrical safety checklist.
During maintenance, inspect the heater, mount and cord for cracks, swelling, corrosion, damaged insulation or water where it should not be. Replace rather than repair equipment with a damaged cord or sealed housing.
The hazard is not theoretical. A 2011 CPSC aquarium-heater recall documented 38 reports of fires and 45 reports of broken aquarium glass involving the recalled models. Those figures concern the recalled products, not aquarium heaters as a category.
After installation, monitor at least one complete heating cycle. Using an independent thermometer, confirm that the heater energizes below the target, shuts off at the intended point and is not responding to an artificially warm pocket around its own element. Repeat that check during the coldest normal room conditions; it provides more useful evidence than the precision printed on the heater’s dial.