
Choose a Beginner Saltwater Aquarium Kit for Stability, Not Just Convenience
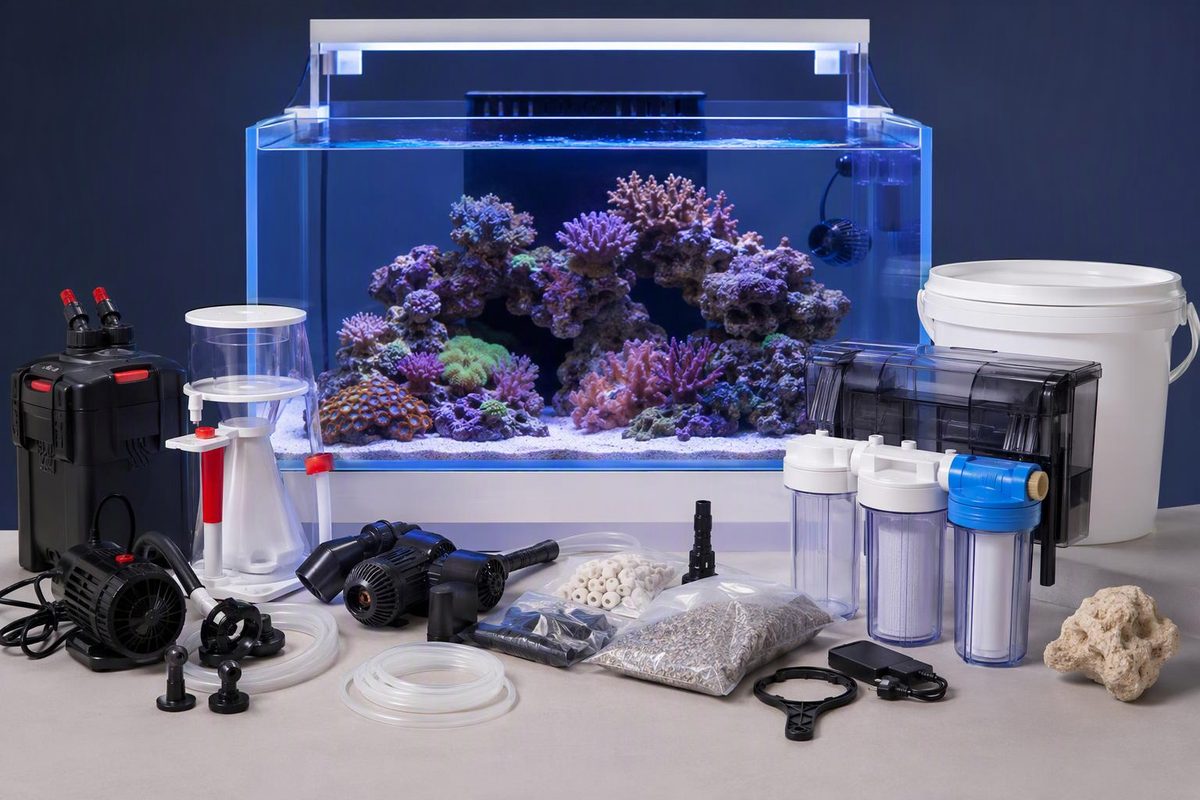
Compare saltwater starter kits, spot missing essentials, and plan tank size, water testing, top-off and cycling before buying livestock.
For a first reef, start by comparing 20–40-US-gallon all-in-one aquariums, then check what each package actually includes. This is a useful planning range, not a minimum for every species: larger water volume helps buffer changes in salinity and chemistry, while smaller nano tanks need closer monitoring. Bulk Reef Supply’s beginner guide makes the same size recommendation.
An all-in-one, or AIO, keeps filtration in compartments behind the display, simplifying the layout. But “all-in-one” does not mean ready for animals. Choose the kit only after allowing for heating, salinity measurement, test kits, water preparation and routine maintenance.
Choose livestock and tank size together
Write down the fish you hope to keep before buying the aquarium. Check their adult size, swimming-space needs and compatibility—not just whether a juvenile fits today. A kit’s filter rating does not establish how many fish it can humanely house.
If corals are part of the plan, choose reef lighting from the outset. Ask whether the included light provides suitable intensity and coverage for your intended corals at their placement depth. “Reef-capable” is not a promise that every coral will thrive anywhere in the tank.
Also distinguish total system volume from display volume. Rear filtration adds water but not swimming space. Rock and sand further reduce the actual water volume used for dosing.
A small tank can work, but it is not automatically easier. Using a simple volume-based approximation, losing one litre to evaporation from 20 litres of water starting at 35 ppt raises salinity to roughly 36.8 ppt; losing the same litre from 100 litres raises it to roughly 35.4 ppt. That is why a top-off plan matters as much as the tank’s footprint.
Two kit examples—and the differences that matter
These examples show different levels of equipment inclusion, not a tested ranking. Manufacturer specifications below were checked on October 14, 2026; confirm the exact model and seller’s bundle before ordering.
| Kit | Included equipment worth noting | What to check before buying |
|---|---|---|
| Fluval EVO 13.5 US gallons | Cover, integrated LED, pump with output nozzle, foam, carbon and biological media | Heater and protein skimmer are sold separately. Budget for measuring equipment and water supplies; decide whether additional circulation is needed for the eventual rockwork and corals. Fluval’s contents list |
| Red Sea MAX NANO G2 XL | Listed 33-US-gallon total system volume and 29.3-US-gallon display; ReefLED G2 60, return pump, protein skimmer, filter sock and built-in top-off with an RO reservoir | Cabinet is optional. ReefATO+ and NanoMat compatibility does not mean those upgrades are included; they are separate add-ons. Verify heater inclusion in the seller’s package. Red Sea’s specifications |
The EVO deserves consideration when space is genuinely limited and you accept the monitoring demands of a small reef. A larger AIO deserves consideration when you want more water volume and display space. Neither choice removes the need to cycle, test or maintain the aquarium.
A missing skimmer is not automatically a reason to reject a small kit. Some nano reefs can rely on regular water changes rather than a skimmer for nutrient export; the maintenance plan still needs to match the livestock load. Bulk Reef Supply explains this option.
Before paying, check that you can reach the pump, remove filter media and clean the rear chambers without moving the filled tank. Check replacement-part availability and the support requirements in the manual. For example, Fluval specifies a flat, stable surface supporting at least 120 pounds for its EVO 13.5.
What the starter package still needs
Build a complete shopping list around these functions rather than buying every available accessory.
- Temperature control: A correctly sized heater and a separate thermometer. Choose for system volume and room conditions; see heater sizing and safety.
- Salinity measurement: A seawater-suitable refractometer or another suitable salinity instrument, with the appropriate calibration or verification standard. Follow the instrument’s instructions; our refractometer guide explains the choices.
- Water supply: A dependable source of RO/DI freshwater, plus marine salt mix—or measured premixed saltwater for filling and changes. Buying water can be a practical alternative to installing an RO/DI unit initially.
- Testing: Marine-compatible ammonia and nitrite tests for a fishless cycling protocol, plus nitrate and pH. For a reef, plan to monitor alkalinity, calcium, magnesium and phosphate as well. These are among the parameters covered in Randy Holmes-Farley’s reef chemistry reference.
- Biological filtration and habitat: Suitable reef rock, secure rockwork, optional sand and biological media as needed. Dry rock needs colonization; buying it does not establish a working biofilter.
- Circulation: Check the included pump and decide whether an additional powerhead is needed for your layout and intended corals. Do not assume a filter pump alone provides suitable flow throughout the display.
- Maintenance supplies: Dedicated buckets, siphon, glass cleaner and, if mixing saltwater, suitable mixing equipment.
- Evaporation management: Either daily manual top-off or an automatic top-off system with a freshwater reservoir.
For a typical reef, 35 ppt is a useful salinity target, consistent with Holmes-Farley’s recommendation. Replace evaporation with freshwater, preferably RO/DI—not saltwater—because the salt remains behind. Replace saltwater removed during water changes with prepared saltwater. This evaporation guide explains the distinction.
Price the entire list, plus ongoing salt, tests and replacement media, before comparing kit prices. Leave optional automation and dosing equipment until you know what problem they need to solve.
The kit is assembled; is the tank ready?
Run the aquarium without livestock first. Confirm stable temperature, measured salinity, circulation and a repeatable top-off routine.
Then follow one coherent fishless cycling protocol, using its stated ammonia source, dose, test units and completion criteria. Do not add fish just because the water is clear or a certain number of days has passed. For example, DrTim’s protocol verifies that a defined ammonia challenge is processed by the next day; it is not simply a countdown after adding bottled bacteria. Never add cycling ammonia to a tank containing animals.
Our biofilter guide explains how to interpret that readiness check. Once the cycle is verified, begin with a modest, compatible livestock load and continue testing. Establish a maintenance routine before expanding the stock list.