
Choose an aquarium protein skimmer by bioload and fit, then tune it without chasing cup color
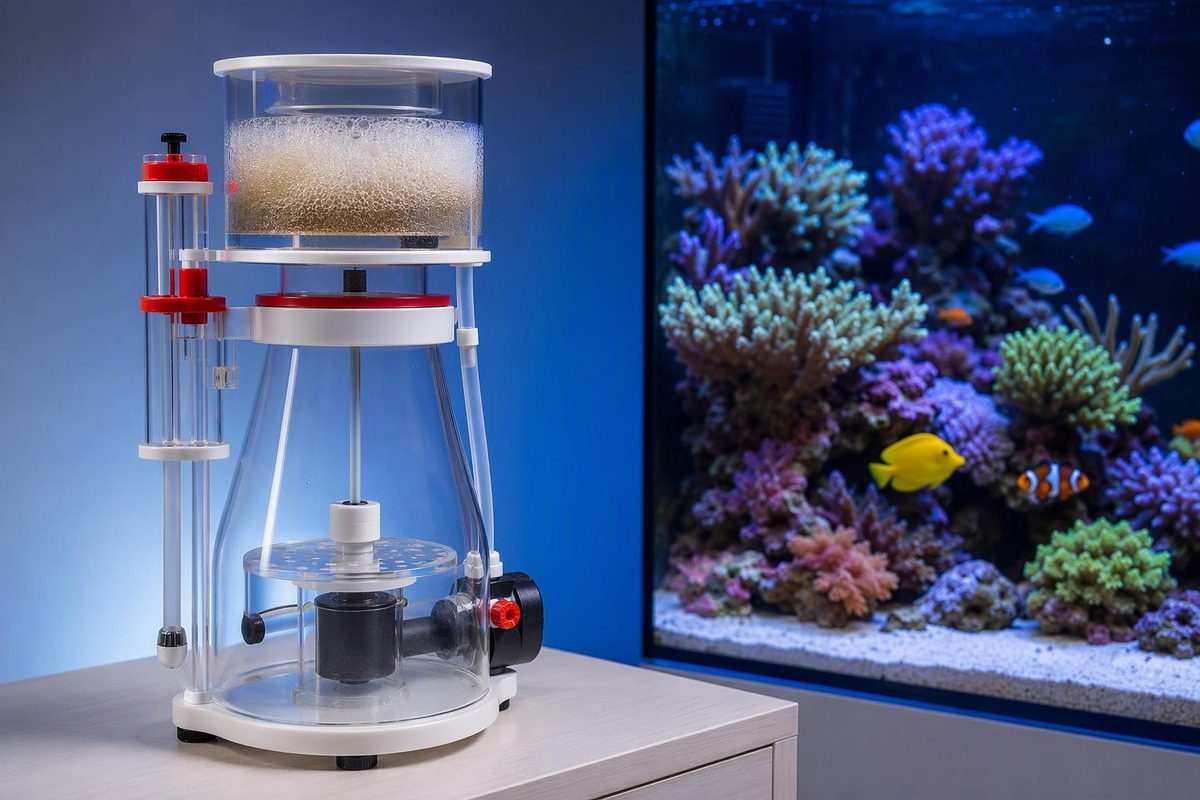
Choose, install and tune a reef aquarium protein skimmer, then troubleshoot overflow, weak foam, noise and microbubbles.
A protein skimmer mixes air with saltwater, concentrates organic material in foam and pushes that foam into a collection cup. It does not directly filter nitrate from the water. Instead, it removes some dissolved and suspended material before microbes break it down further, while also providing air-water contact.
The process is called foam fractionation. Performance depends on the water composition, surface tension, salinity and bubble size; skimmer design also uses water flow, the water-to-air ratio and contact time (Aquaculture Research, Red Sea REEFER skimmer manual). An advertised tank rating therefore cannot describe every reef system.
Does a reef tank need a protein skimmer?
Not every reef tank requires one. A lightly stocked nano reef may be maintained with restrained feeding, mechanical filtration, another nutrient-export method and regular water changes. A skimmer becomes more useful as fish biomass and feeding increase.
A skimmer can:
- remove a portion of dissolved organics and fine particles;
- increase gas exchange;
- reduce the organic material available to become nitrate and phosphate; and
- support heavy feeding or a nutrient-control method designed around skimming.
Some bacterial carbon-dosing programs explicitly depend on efficient skimming to provide oxygenation and remove bacterial flocs. Follow the instructions for the specific method rather than assuming every carbon source works the same way (Red Sea NO3:PO4-X manual).
A skimmer cannot replace biological filtration, water changes or testing, and it will not resolve an ammonia emergency by itself. If ammonia is detectable in a new system, evaluate the biofilter and cycling process; see how nitrifying bacteria work in aquarium biofilters.
Choose by bioload, fit and operating depth
Start with approximate actual water volume after allowing for rock and sand, including the sump’s operating volume. Then consider how heavily the tank is stocked and fed.
Manufacturer ratings are not standardized. Even within one Red Sea range, each model has different ratings for SPS, mixed-reef and fish-only systems. This illustrates why waste production matters alongside gallons. Choose a model whose documented range covers your system and intended bioload rather than automatically buying the largest unit that fits.
Check these details before buying:
- Footprint: Include the pump, outlet, air intake and any plumbing.
- Height: Measure from the sump floor to the cabinet ceiling.
- Cup clearance: The cup must lift off without dismantling the sump. The cited Red Sea models require at least 1 inch above the cup, but other models differ.
- Operating depth: Follow the model’s specified range. The cited models require 6–9 inches depending on size.
- Stable sump level: Place an in-sump skimmer in a constant-depth chamber. Evaporation should normally change the return section instead.
- Service access: Make sure you can remove the cup, pump, impeller, hose and venturi.
An in-sump skimmer contains most overflows within the system. A hang-on-back model works without a sump but needs careful clearance and overflow planning. An external model saves sump space but introduces external plumbing and additional leak points.
Set the skimmer, then give it time
Follow the model’s manual first. A sound initial procedure is:
- Place the skimmer at its specified depth, using a stable stand if needed.
- Set the outlet or internal water level to the manufacturer’s starting position.
- Confirm that the pump is submerged as required, the hose is not kinked and the air inlet is clear.
- Arrange a drip loop, keep electrical connections dry and start the pump.
- Check all fittings for leaks.
- Raise the foam level in small increments, waiting between changes.
A new skimmer may take several days to produce stable foam. Red Sea advises allowing about 48 hours for production residues to clear and notes that a new, low-organic aquarium may initially produce little skimmate (Red Sea operation FAQ). That does not automatically indicate a fault.
Wet skimming sets the foam transition higher and collects more, lighter liquid. Dry skimming sets it lower and collects less, darker material. Neither cup color nor a fixed daily volume is a universal target. Look for a stable foam head, then judge performance alongside feeding, livestock condition and nutrient trends. Constant adjustments after every feeding make the result harder to interpret.
If the cup suddenly overflows
If the cup rapidly fills with clear water:
- lower the internal water or foam level;
- check whether the sump level has risen;
- inspect the skimmer outlet for a blockage;
- review anything just added to the aquarium; and
- do not let the cup drain unattended into a large container.
Foods, supplements, conditioners and other additions can alter foaming. Follow the added product’s instructions; the skimmer manual may also specify whether and how long to pause operation. Red Sea, for example, says its skimmer may overfoam after foods or supplements and advises pausing it around those additions until normal foam returns (Red Sea REEFER skimmer manual).
A cup drain leading to a large container can hide a prolonged overflow. If an automatic top-off replaces the removed saltwater with freshwater, salinity can fall. Use a small waste container, a suitable shutoff device or direct supervision.
Troubleshoot weak foam, microbubbles and noise
For weak or absent foam, first confirm salinity and allow for the tank’s bioload. Protein skimmers work poorly in freshwater, while a new or lightly stocked reef may have little material to collect. Then inspect the silencer, air hose and venturi for obstruction or salt buildup. If airflow remains weak, unplug and clean the pump and impeller.
For microbubbles, make sure the skimmer is not overflowing, allow a new unit several days to settle and keep its outlet away from the return-pump intake. A sump bubble trap can help.
For rattling or reduced output, unplug the unit before handling it. Remove grit and mineral deposits, confirm vibration-isolating parts are correctly seated and inspect the impeller for damage. Clean the collection cup and neck regularly because accumulated sludge interferes with the foam’s climb. Follow the model’s pump-maintenance schedule rather than waiting for output to collapse.
Finally, react to trends rather than cup color. If nitrate and phosphate are rising while feeding and stocking remain steady, first restore the skimmer to clean, unobstructed operation. If measured nutrients are already very low and corals are paling, do not skim wetter merely to collect more liquid. Confirm the readings, review the broader saltwater aquarium water parameters, and change one feeding or export variable at a time.